
NBTevo flash with an OABR cable
The bench-style setup we use to flash an NBTevo unit through its OABR port — for retrofits from CIC, NBT, EntryNav1 or EntryNav2, where the car can’t talk to the new unit over ENET alone.
Before you start
- An OABR to Ethernet (RJ45) cable
- An ENET cable
- An Ethernet 10/100/1000 switch with its power cable
- A Windows 10 or 11 laptop (or a Mac with Boot Camp) and a strong internet connection
- The car’s quadlock plugged into the EVO unit
-
When to use this setup
Use the OABR setup when you retrofit an NBTevo iD4 or iD6 unit into a car that came with CIC, NBT, EntryNav1 or EntryNav2.
-
Get the cables and the switch
You need three things besides your laptop:
- OABR to Ethernet (RJ45) cable
- ENET cable
- Ethernet 10/100/1000 switch
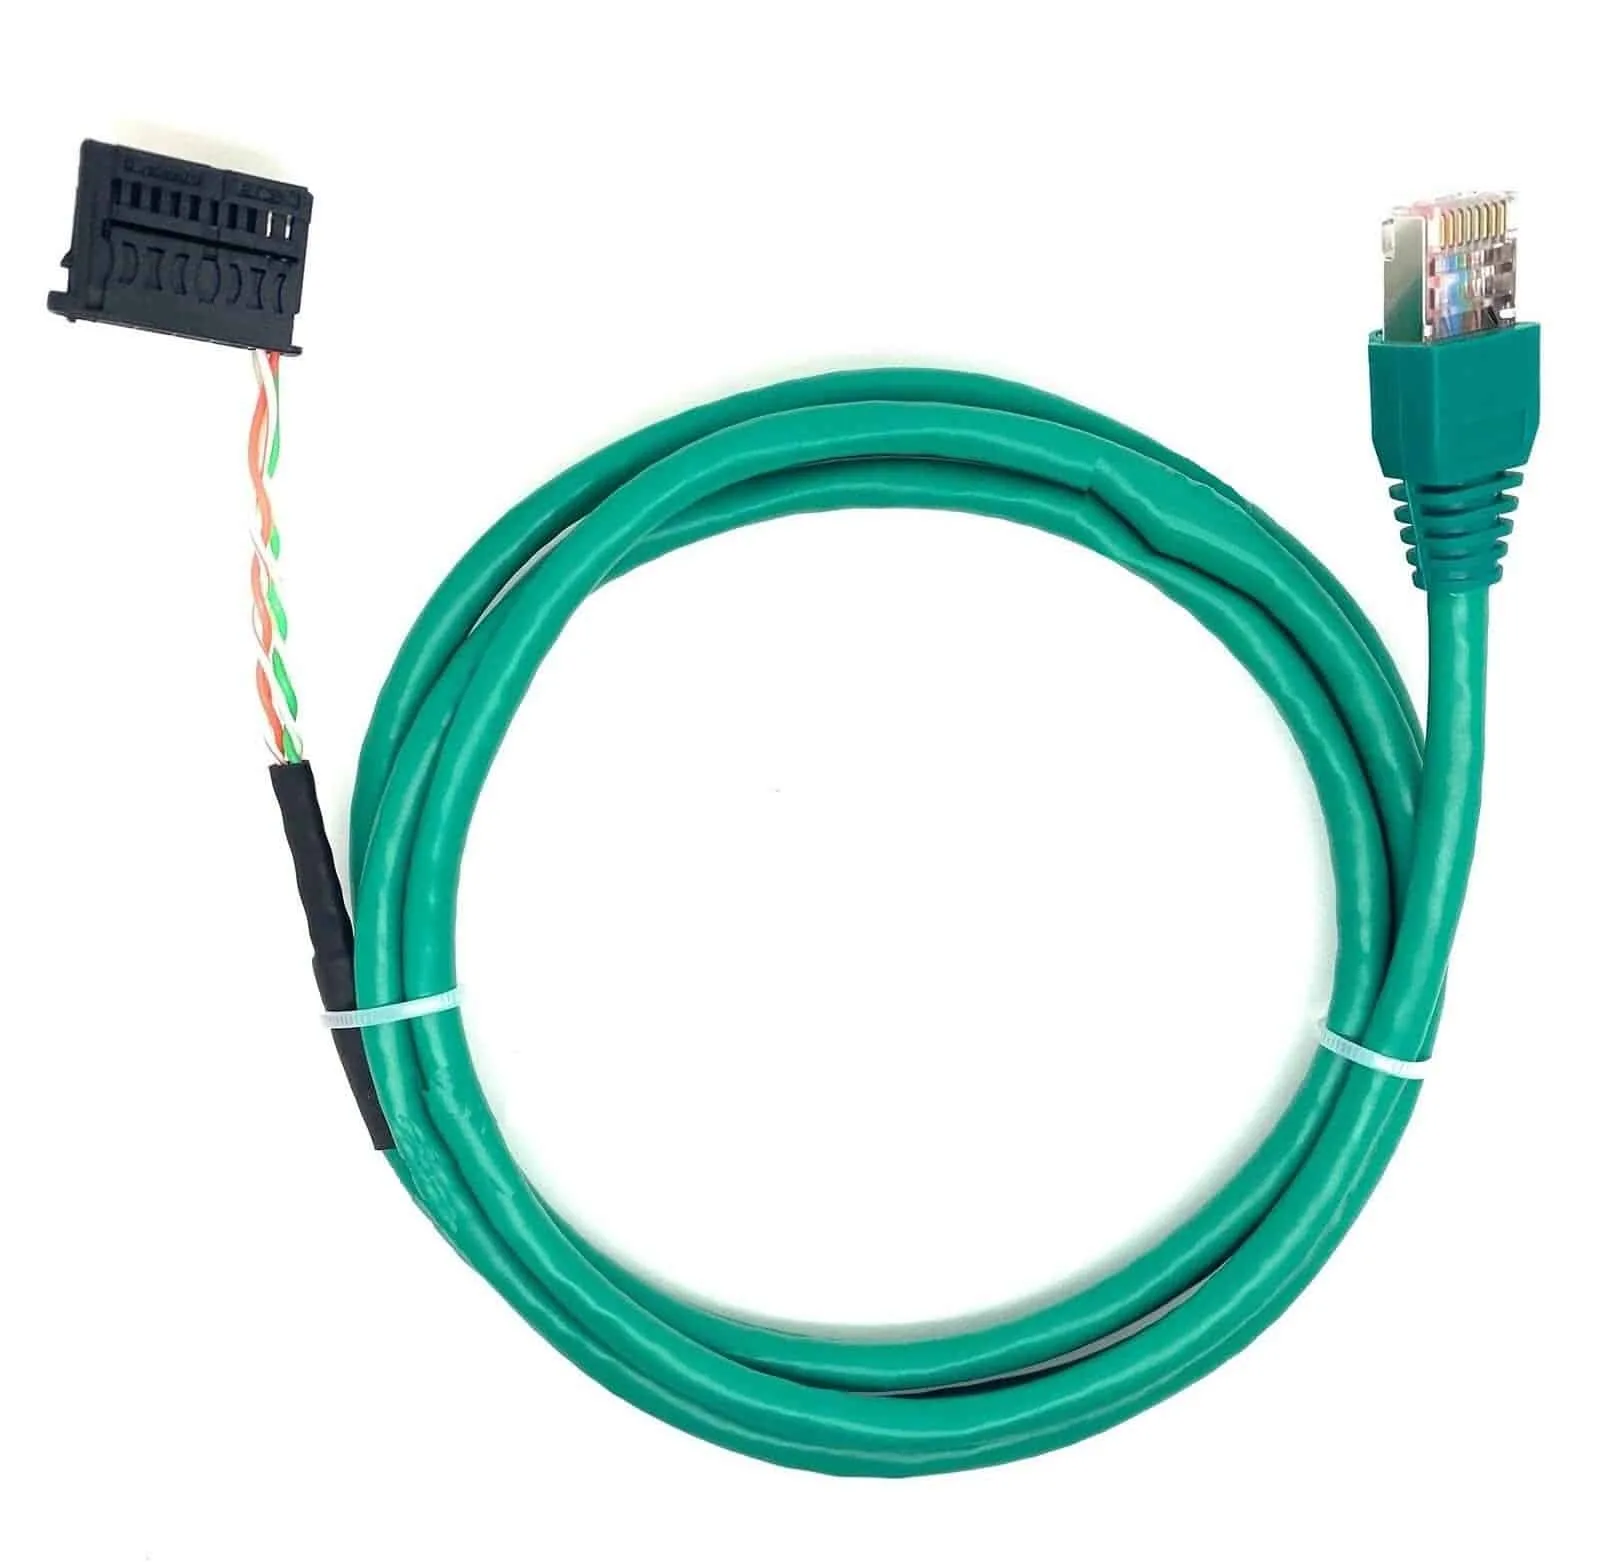
2.1OABR to Ethernet (RJ45) cable 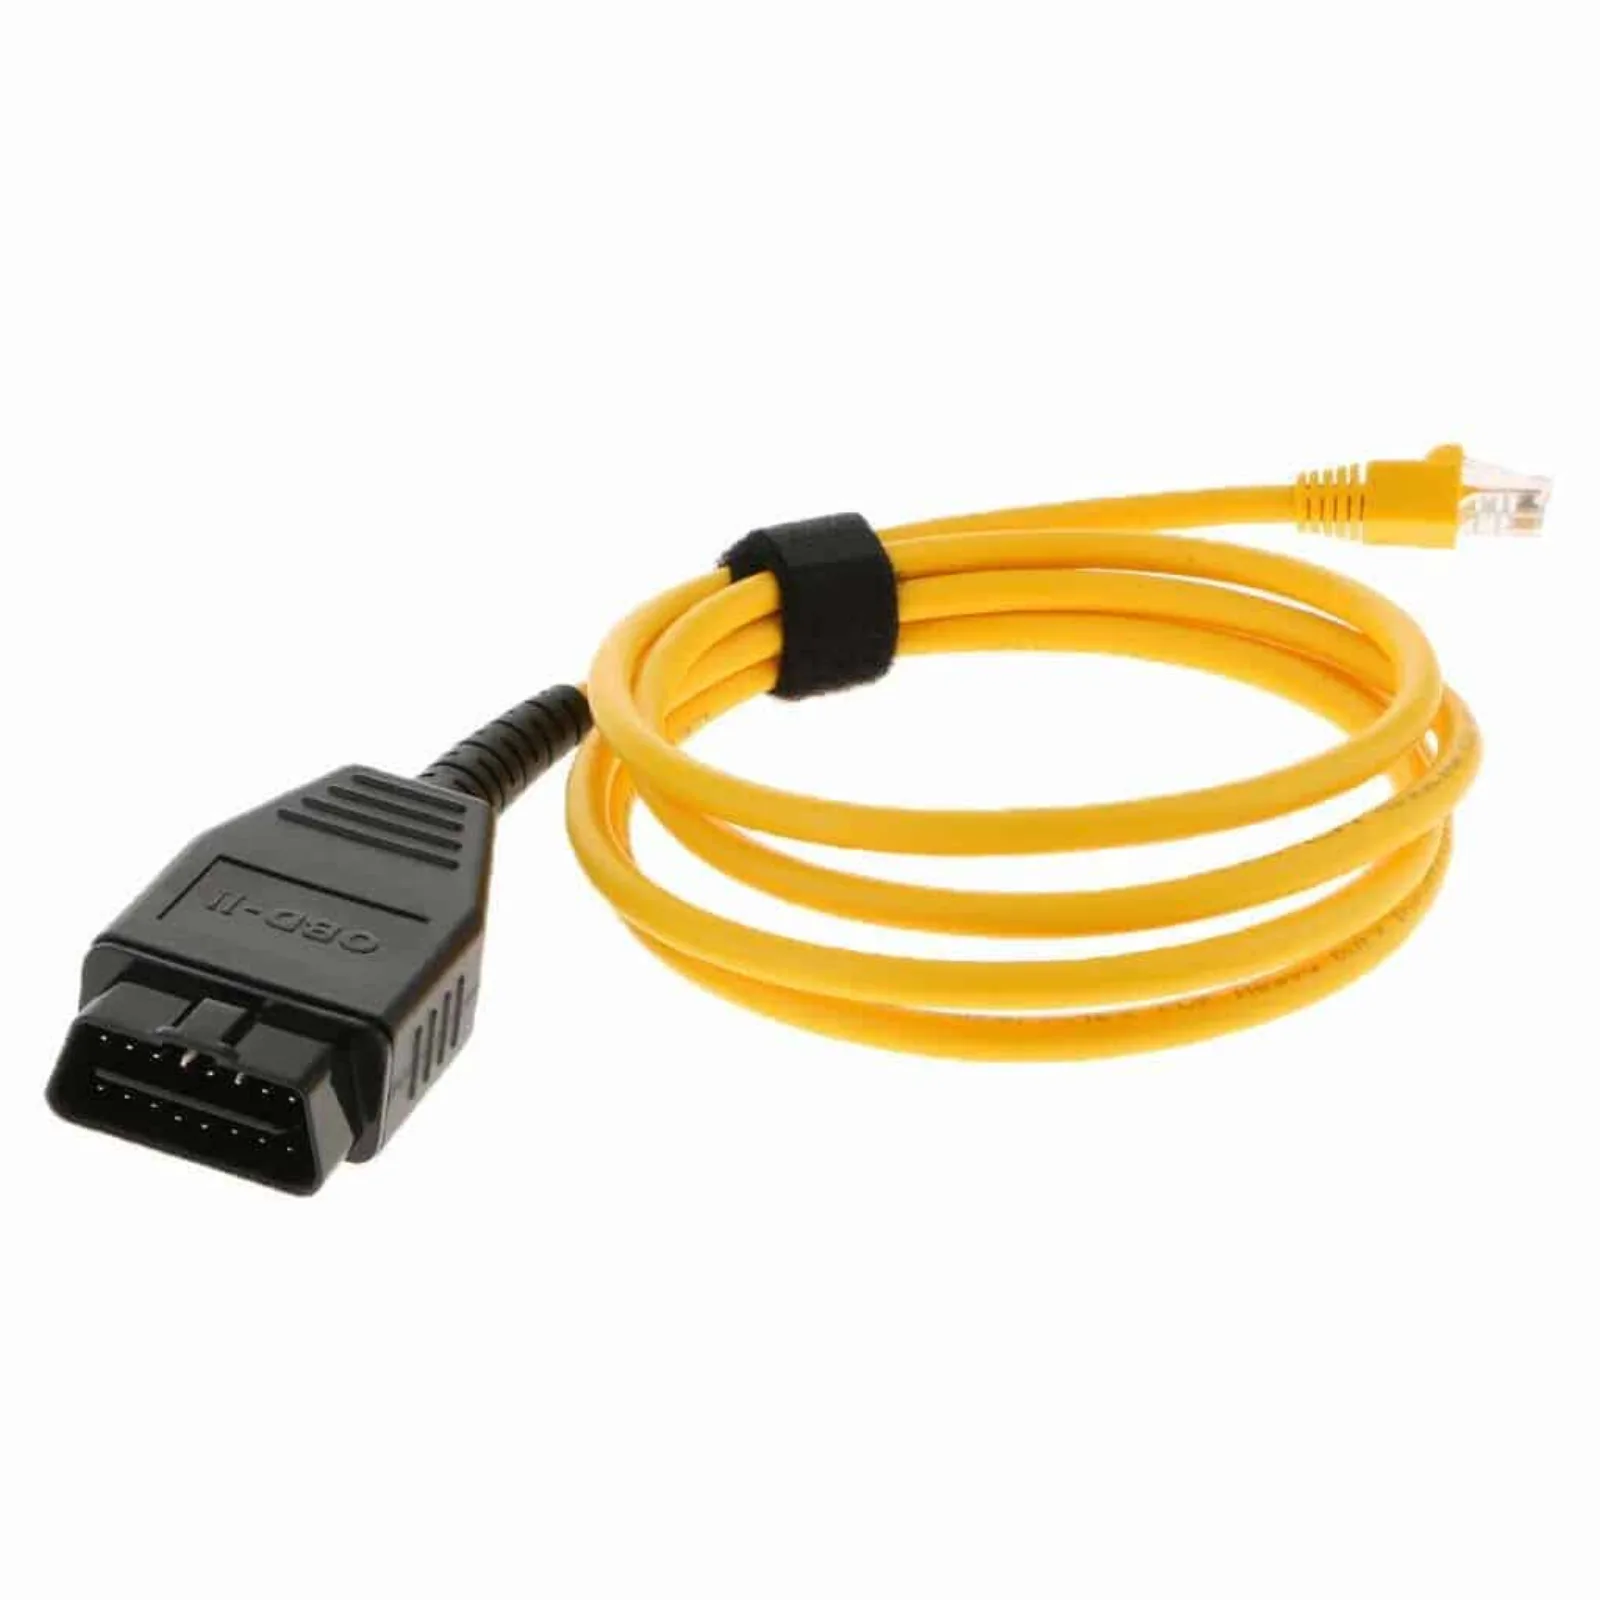
2.2ENET cable 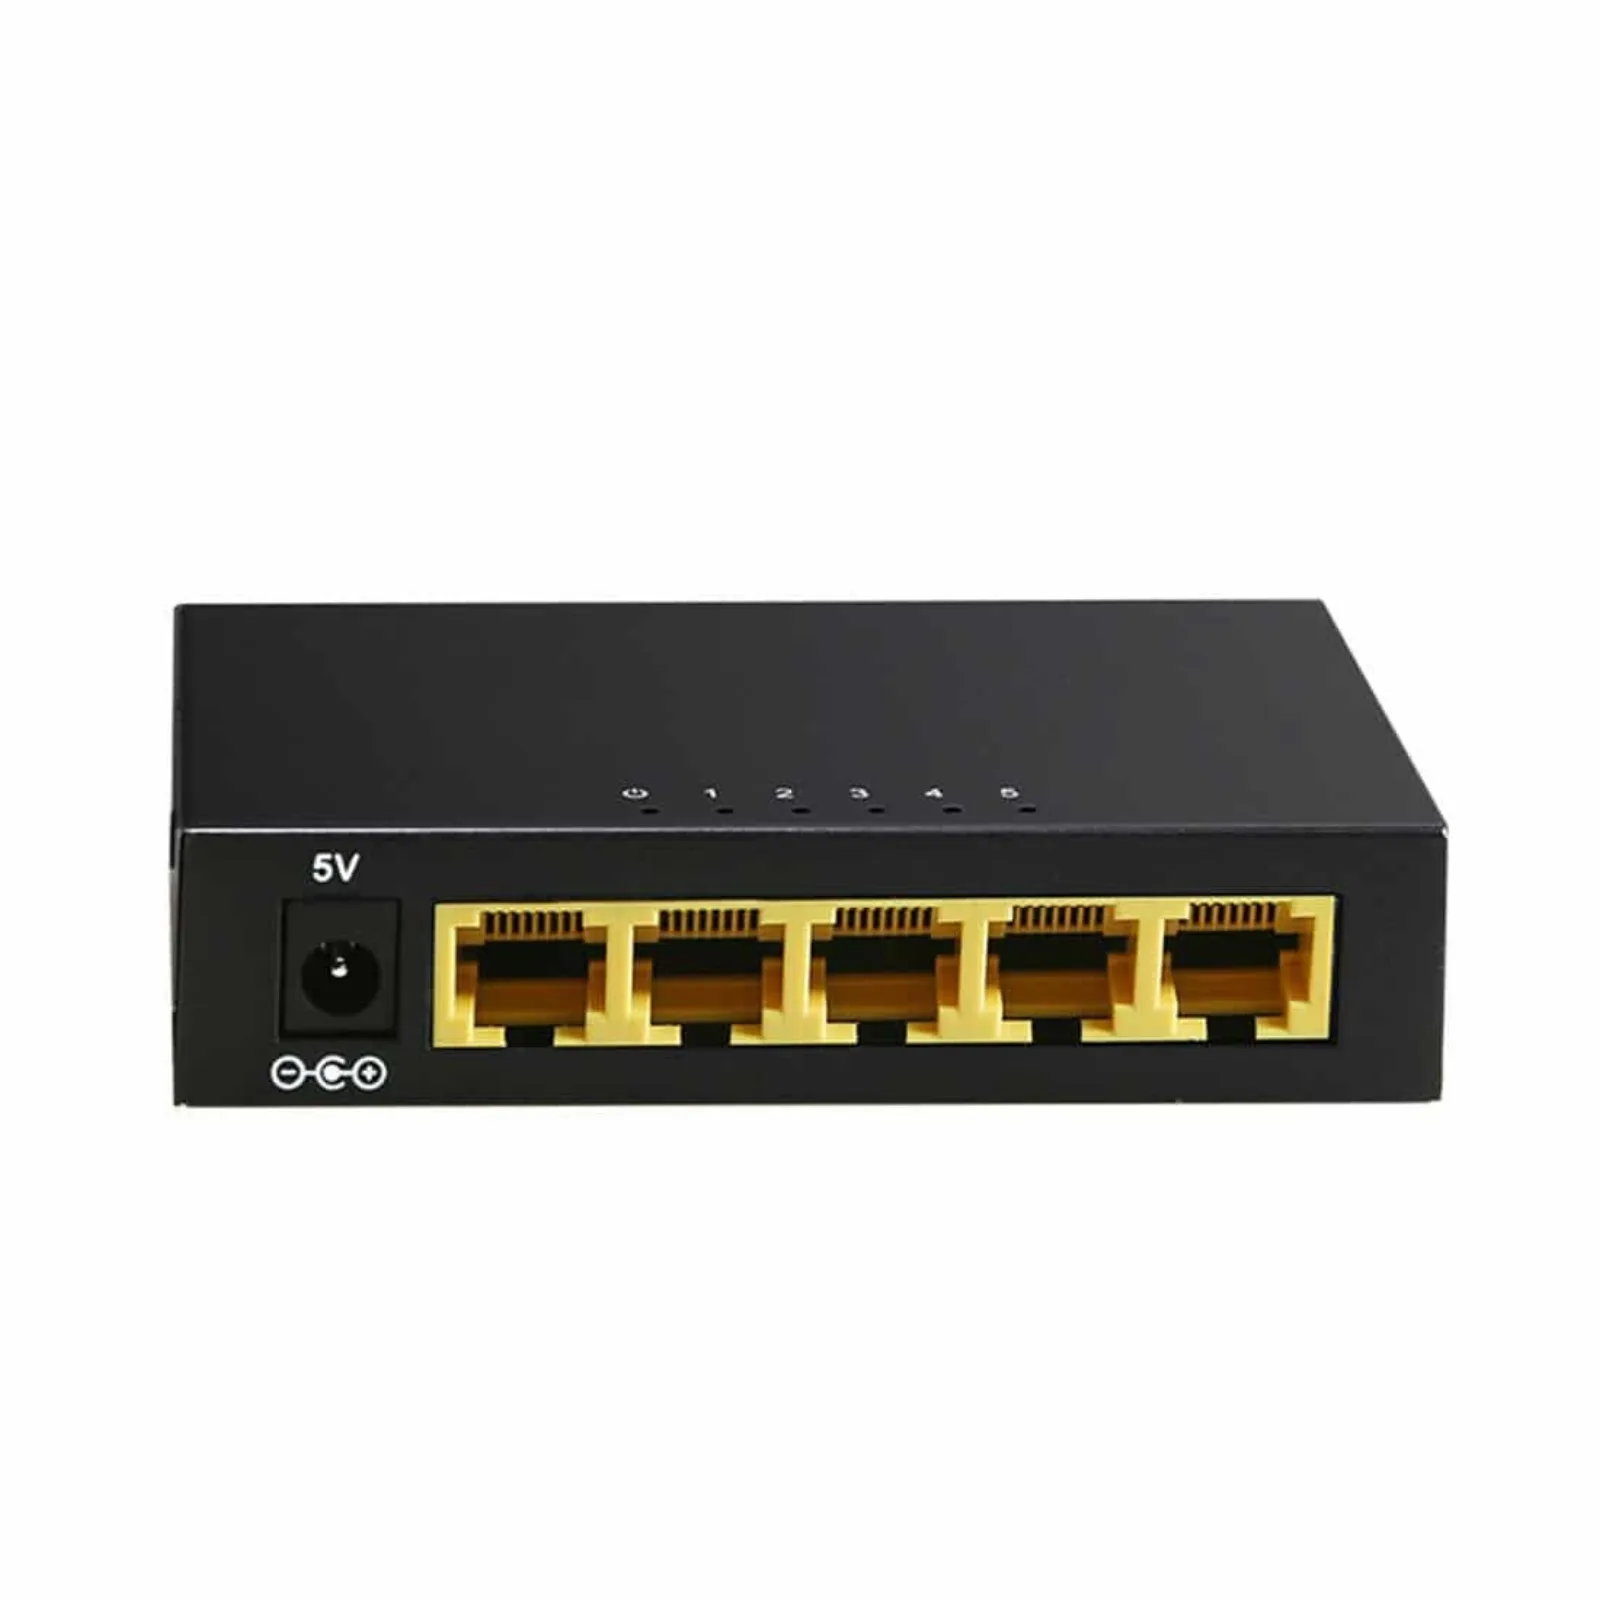
2.3Ethernet 10/100/1000 switch -
Connect everything to the switch
Plug the cables into the switch exactly in this order:
- Port 1 — the ENET cable, from the car’s OBD port
- Port 2 — the Ethernet to OABR cable, from the EVO unit
- Port 3 — an Ethernet cable to your laptop
- Power — plug in the switch’s power cable and turn it on
- Quadlock — the car’s quadlock must stay plugged into the EVO unit
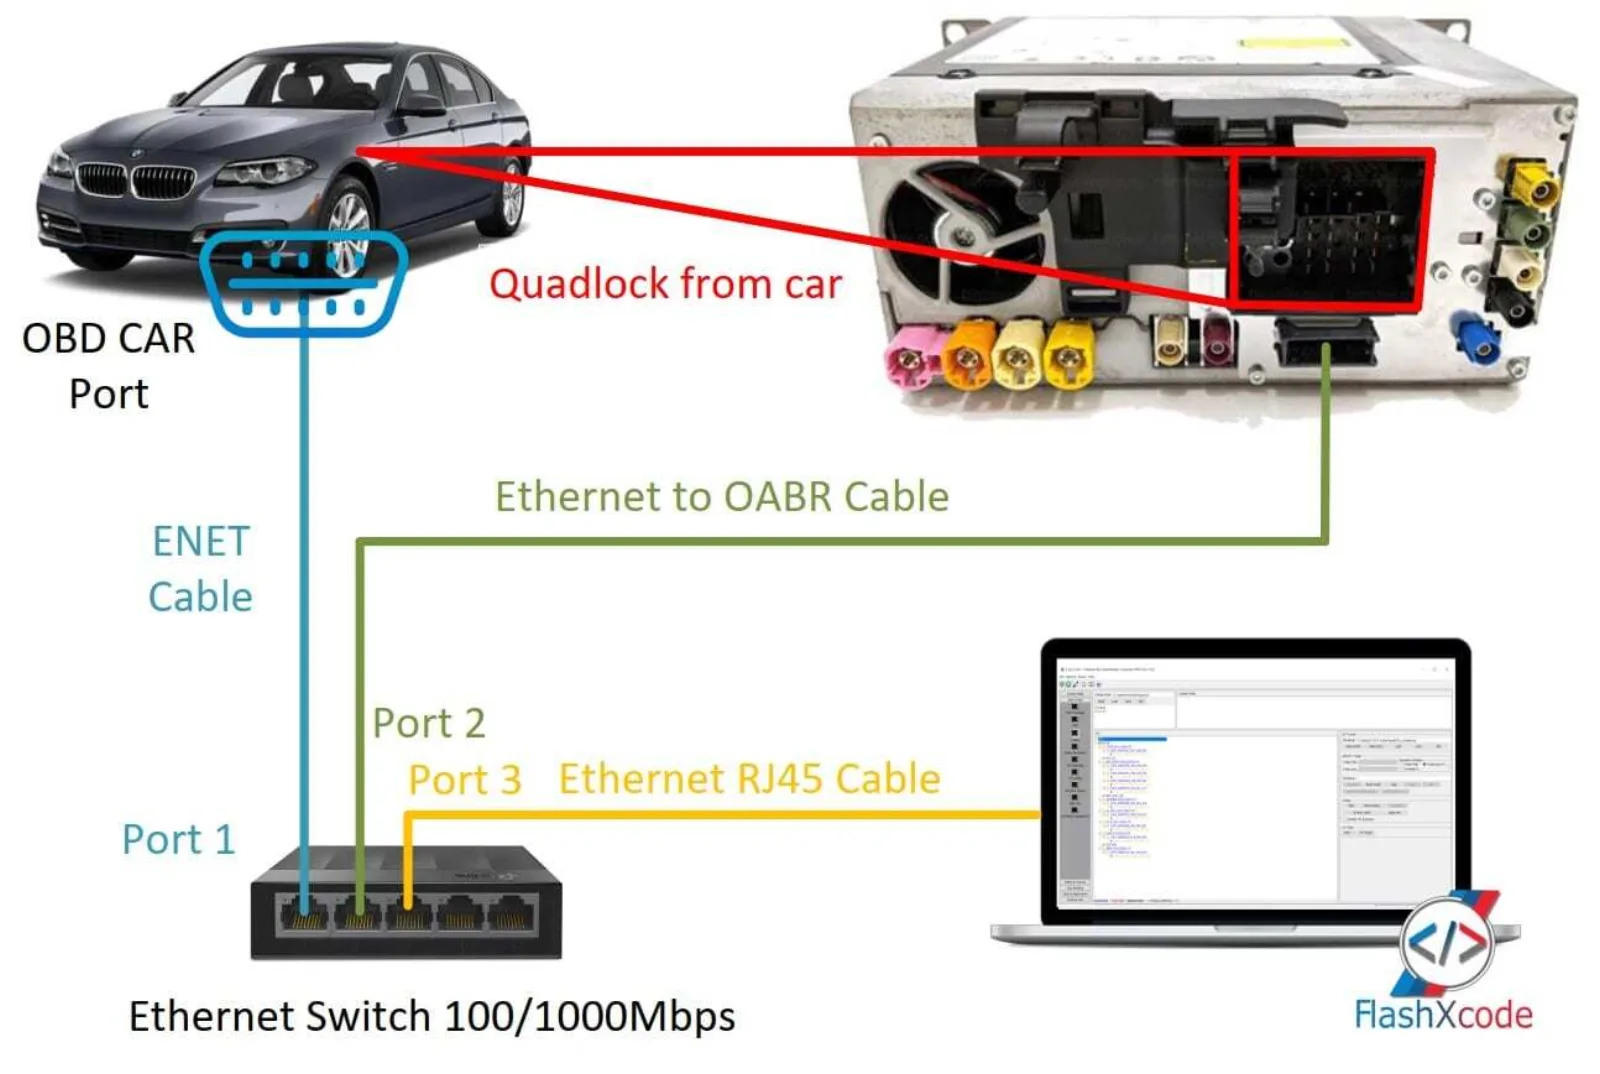
How it all connects: OBD → port 1, OABR → port 2, laptop → port 3 -
Prepare the laptop
Use a laptop running Windows 10 or 11, or a Mac with Boot Camp. Connect it to a strong Wi-Fi or wired internet connection — this keeps the TeamViewer session with our team stable while we flash the unit.
Keep the quadlock from the car plugged into the EVO unit for the whole procedure — the unit needs power and the car’s network.